自折腾保活方法一览
#技术 #ClawCloud #Cloudflare #render
当项目部署在 render 上,因为是免费帐户,如何保活:
- 找个保活网站(最简单)
- 自部署 Uptime Kuma (需要有一个注册超过 180 天的 GitHub 账号)
- 利用 Cloudflare 定时 Worker
自部署 Uptime Kuma
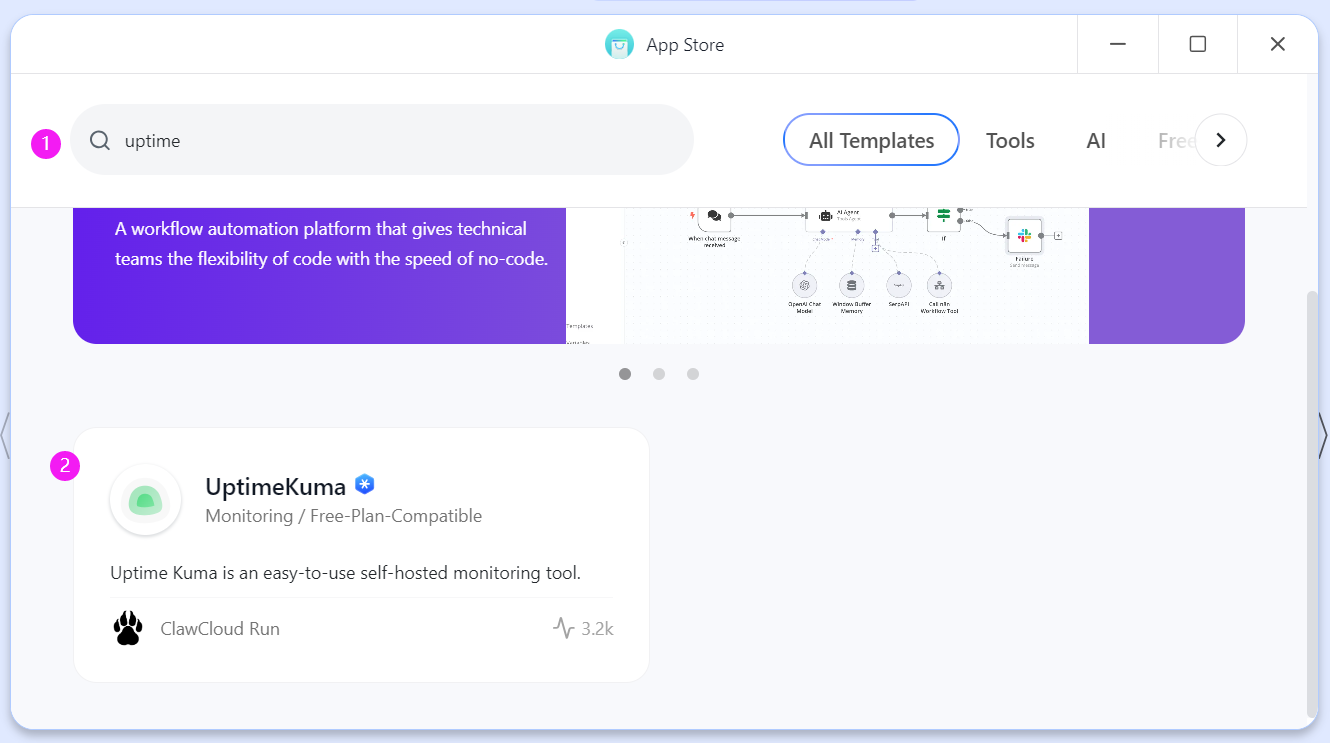
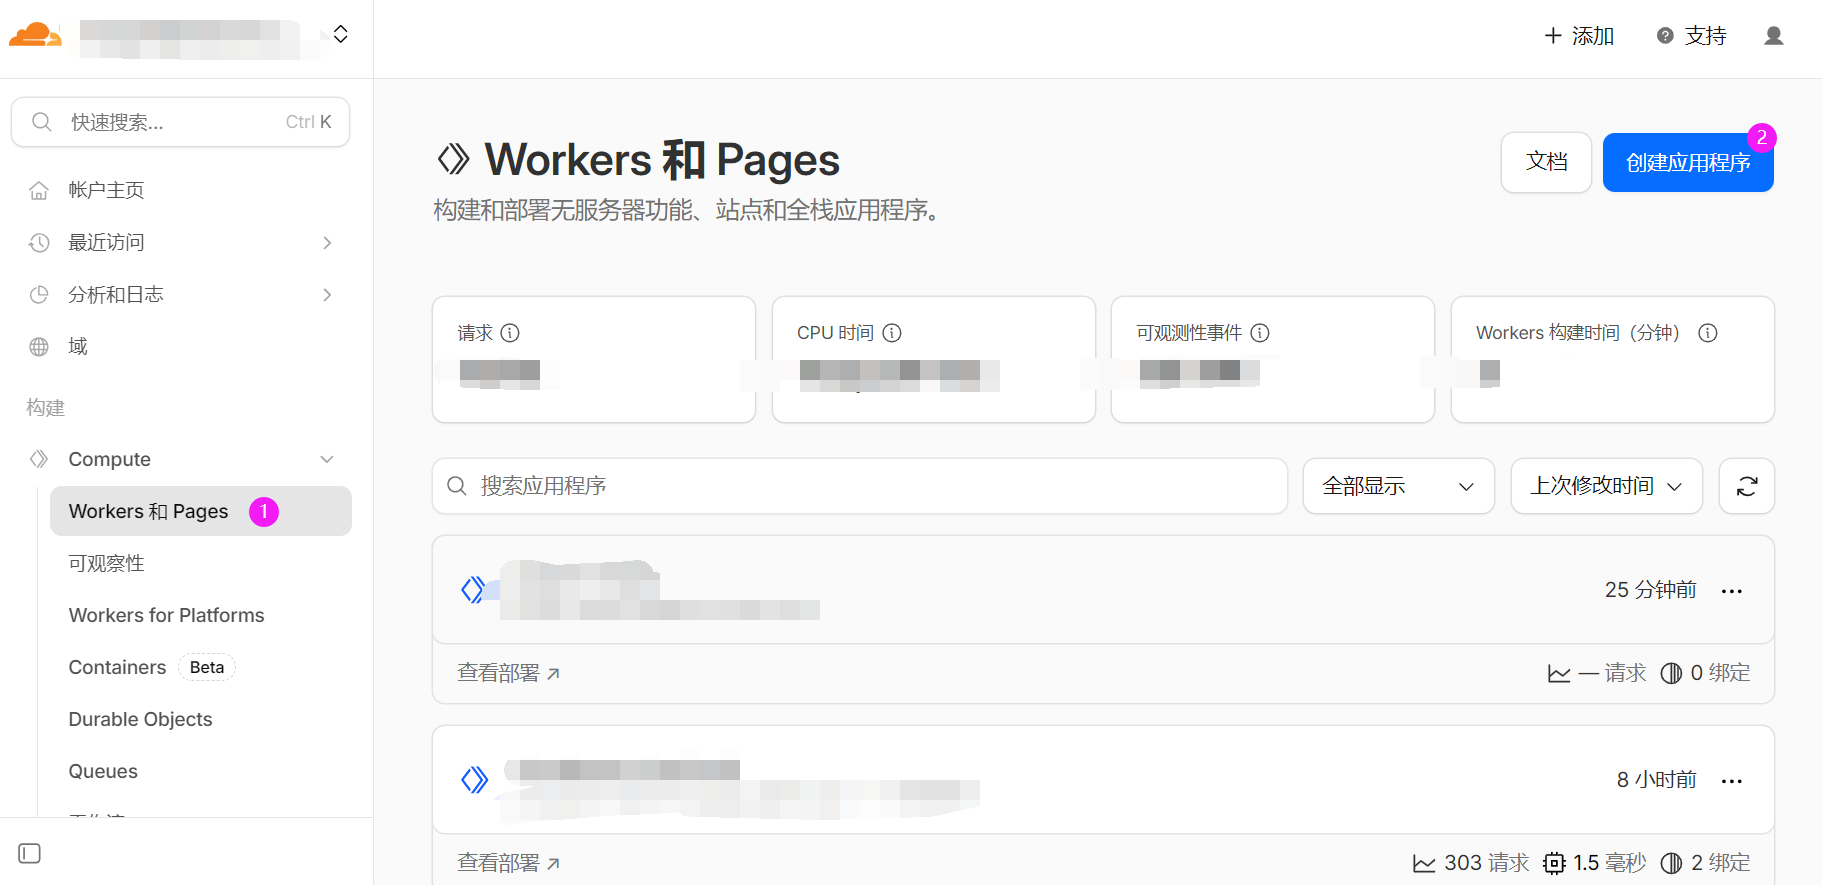
- 使用 GitHub 方式登录 ClawCloud,注册超过 180 天的 GitHub 账号每月有 5 美元赠金;
- 在 App Store 中搜索 uptime;
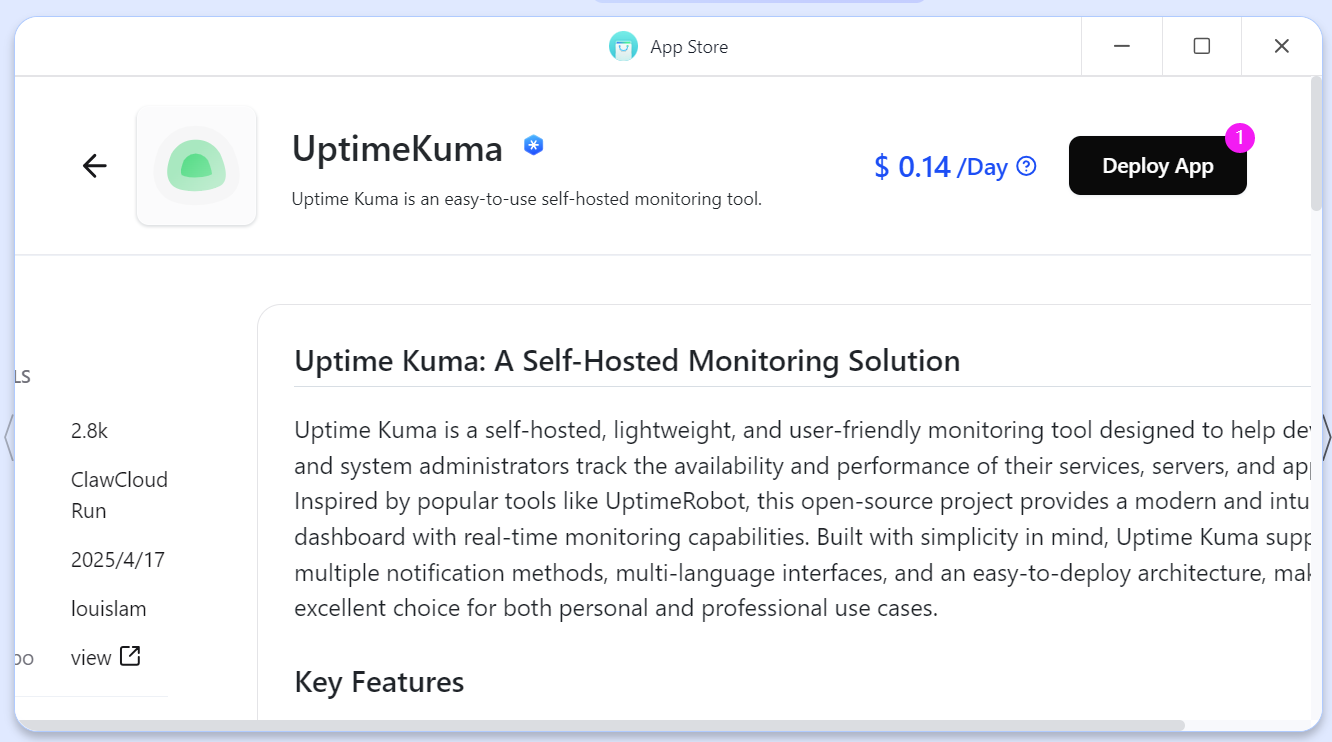
- 点击 Deploy App,按照价格 0.14 * 31 = 4.34,在赠金范围内;
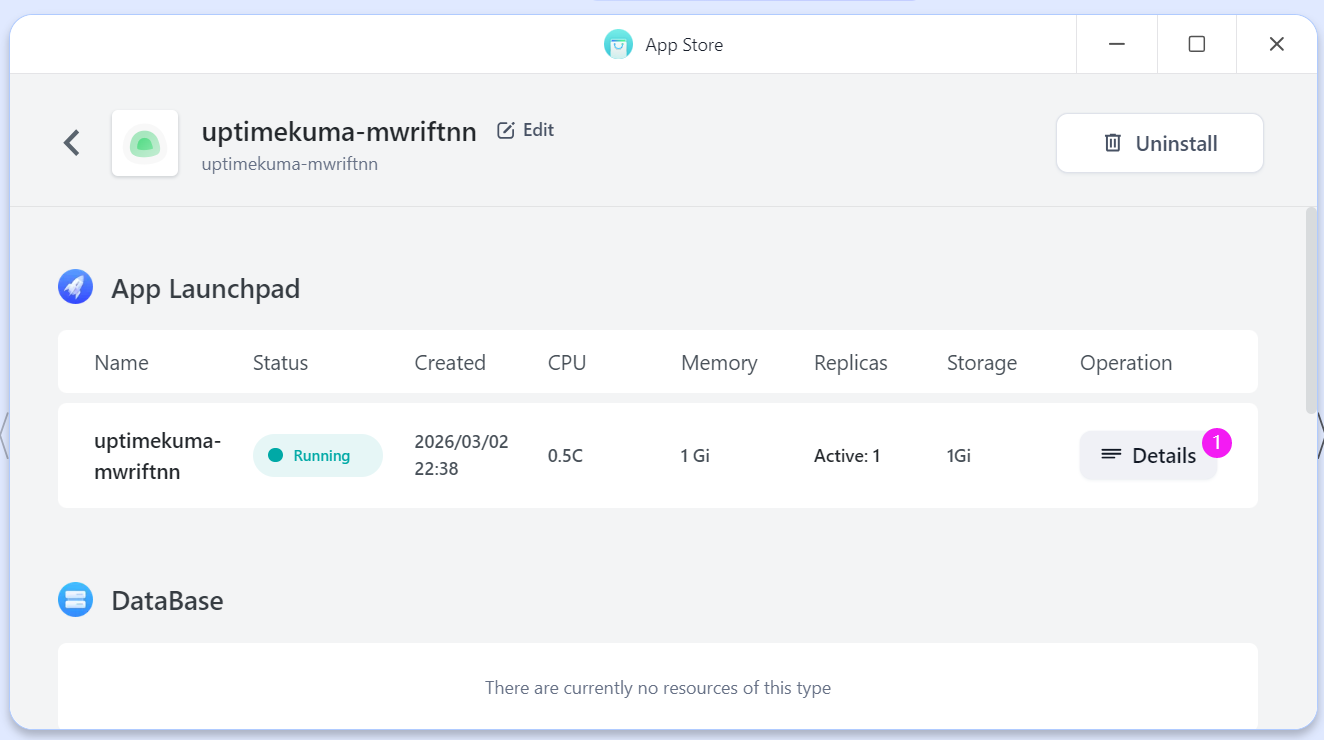
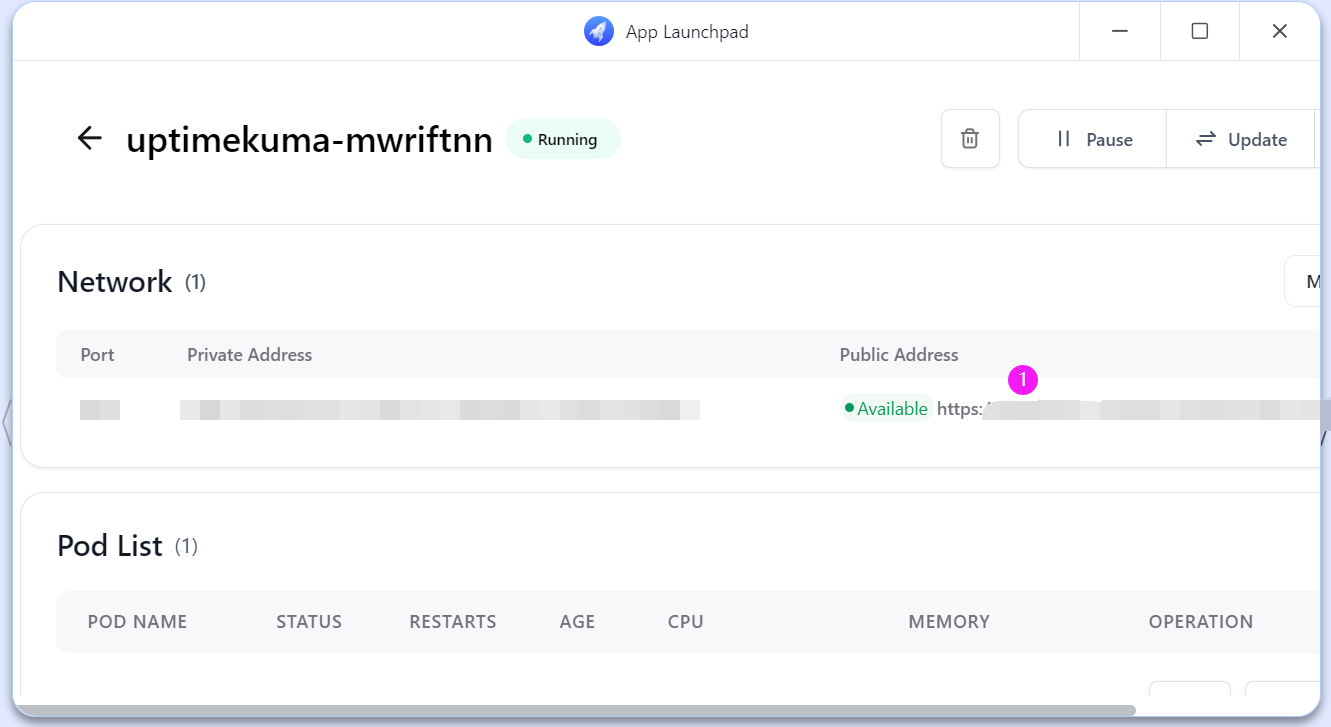
- 部署之后在 Details 中可以看到网址;
- 点击网址,进入自己部署的 Uptime Kuma,初次使用需要创建账号;
- 登录后点击添加监控项;
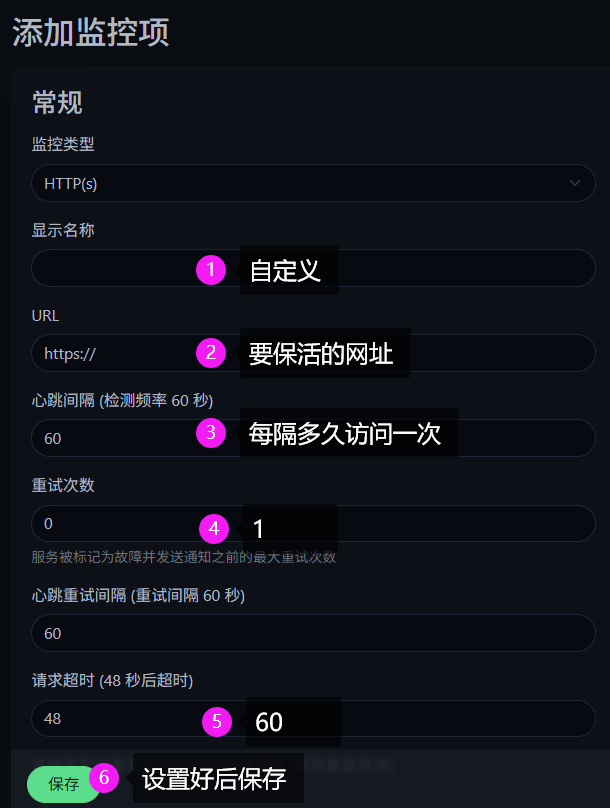
- 结束。优点是后续添加其它要保活的网址方便,以及能看到的信息更详细。缺点是初次部署步骤多,以及需要有注册超过 180 天的 GitHub 账号。
利用 Cloudflare 定时 Worker
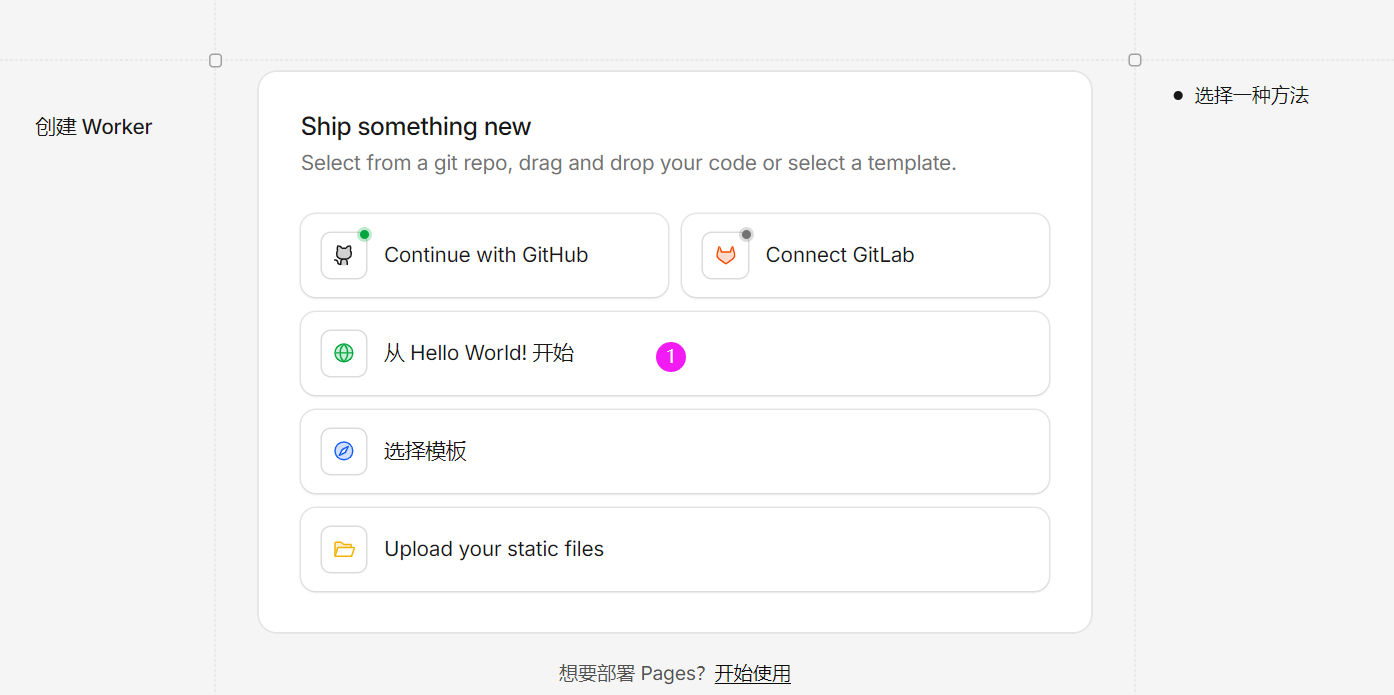
- 登录 Cloudflare,点开 Compute,选择 Workers and Pages,点击
创建应用程序;
- 选择从 HelloWorld 开始,点击部署;
- 点击编辑代码;
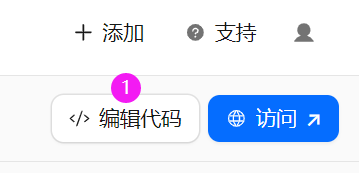
- 全选原有代码,替换成下面的代码,点击部署;
	export default {
	  async scheduled(event, env, ctx) {
	    const urls = [
	      "要保活的网址"
	    ];

	    for (const url of urls) {
	      ctx.waitUntil(
	        fetch(url, {
	          method: "GET",
	          headers: { "User-Agent": "CF-Render-KeepAlive" }
	        })
	          .then(res => console.log(`${url} ${res.status}`))
	          .catch(err => console.log(`${url} error`, err))
	      );
	    }
	  }
	};
-
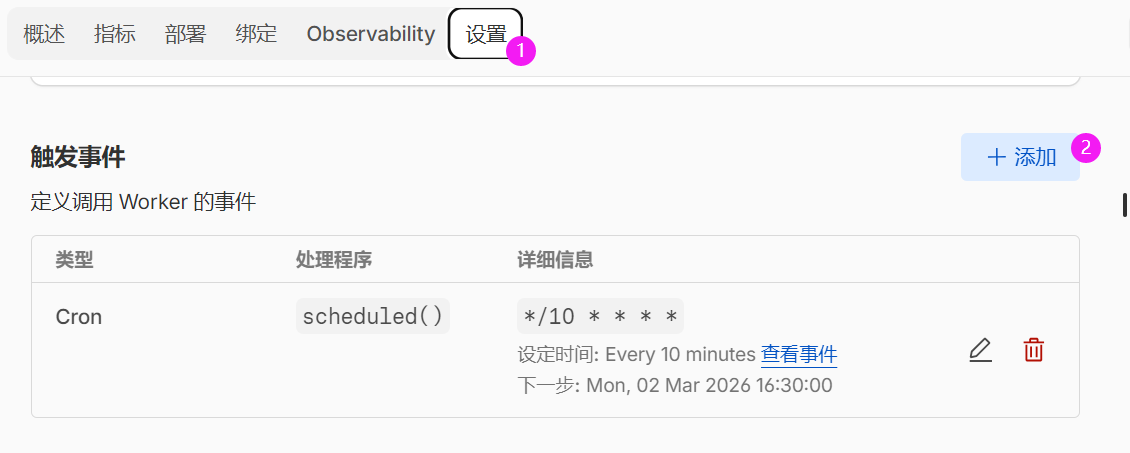
在设置中添加触发事件;
-
选择 Cron 触发器,设定时间为 5 分钟(在 render 休眠前触发就行);
-
结束。可以在日志中查看是否访问成功。如果访问失败会看到:
网址 error TypeError: fetch failed